

How to install HSS Straight Strips?
As a supplier of HSS (High-Speed Steel) Straight Strips, I understand that proper installation is crucial to ensure the optimal performance and longevity of these products. In this blog post, I will guide you through the step-by-step process of installing HSS Straight Strips, providing you with valuable insights and tips along the way.
Understanding HSS Straight Strips
Before we dive into the installation process, let's briefly discuss what HSS Straight Strips are and their applications. HSS Straight Strips are made from high-speed steel, a type of tool steel known for its exceptional hardness, wear resistance, and heat resistance. These strips are commonly used in various industries, including metalworking, woodworking, and automotive, for applications such as cutting, machining, and tooling.
Tools and Materials Required
To install HSS Straight Strips, you will need the following tools and materials:
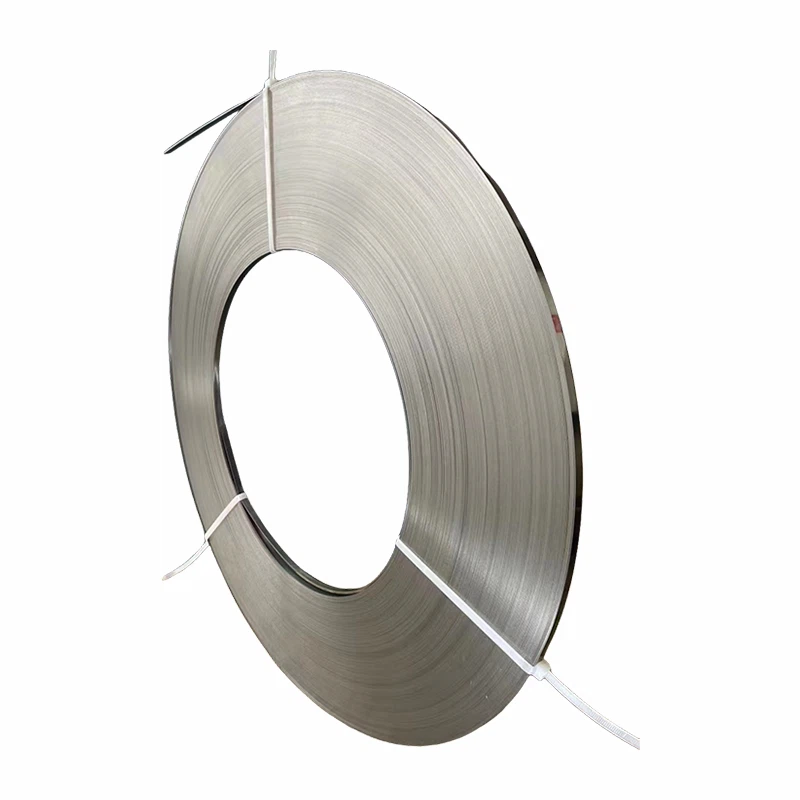

- Measuring tape
- Marker or scriber
- Saw or cutting tool
- Drill and drill bits
- Screwdriver or wrench
- Clamps
- Adhesive or welding equipment (depending on the installation method)
- HSS Straight Strips
Step 1: Measure and Mark
The first step in installing HSS Straight Strips is to measure and mark the area where the strips will be installed. Use a measuring tape to determine the length and width of the surface, and mark the position of the strips using a marker or scriber. Make sure to leave enough space between the strips to allow for expansion and contraction.
Step 2: Cut the Strips
Once you have marked the area, it's time to cut the HSS Straight Strips to the appropriate length. Use a saw or cutting tool to make a clean, straight cut. Make sure to wear appropriate safety gear, such as gloves and goggles, when cutting the strips.
Step 3: Prepare the Surface
Before installing the strips, it's important to prepare the surface to ensure a secure and stable installation. Clean the surface thoroughly to remove any dirt, debris, or oil. If necessary, use a grinder or sandpaper to smooth the surface and remove any rough edges.
Step 4: Install the Strips
There are two common methods for installing HSS Straight Strips: adhesive bonding and welding. The method you choose will depend on the specific application and the type of surface you are working with.
Adhesive Bonding
If you choose to use adhesive bonding, apply a thin layer of adhesive to the back of the HSS Straight Strips and the surface where they will be installed. Make sure to follow the manufacturer's instructions for the adhesive, including the recommended drying time. Once the adhesive is applied, carefully place the strips on the surface and press them firmly into place. Use clamps to hold the strips in place until the adhesive has dried completely.
Welding
If you choose to use welding, make sure to use the appropriate welding equipment and techniques for the type of HSS Straight Strips you are using. Clean the edges of the strips and the surface where they will be welded to ensure a strong bond. Use a welding torch or other welding equipment to heat the edges of the strips and the surface, and then apply the filler material to create a weld joint. Make sure to follow the manufacturer's instructions for the welding process, including the recommended welding parameters.
Step 5: Secure the Strips
Once the strips are installed, it's important to secure them in place to prevent movement or displacement. Use screws or bolts to attach the strips to the surface, or use additional clamps to hold them in place. Make sure to tighten the screws or bolts securely, but not too tightly, to avoid damaging the strips.
Step 6: Finish the Installation
After the strips are installed and secured, it's time to finish the installation by cleaning up any excess adhesive or welding material. Use a clean cloth or brush to remove any debris or residue from the surface. If necessary, use a grinder or sandpaper to smooth the edges of the strips and the surface where they are installed.
Tips and Tricks
- Make sure to choose the right type of HSS Straight Strips for your application. Consider factors such as the material being cut, the cutting speed, and the required hardness and wear resistance.
- Follow the manufacturer's instructions for the installation process, including the recommended tools, materials, and techniques.
- Use appropriate safety gear, such as gloves, goggles, and a respirator, when working with HSS Straight Strips and the installation tools.
- Take your time and be careful when cutting, measuring, and installing the strips to ensure a precise and accurate installation.
- If you are unsure about any aspect of the installation process, consult with a professional or the manufacturer of the HSS Straight Strips.
Conclusion
Installing HSS Straight Strips requires careful planning, preparation, and attention to detail. By following the steps outlined in this blog post and using the tips and tricks provided, you can ensure a successful installation and optimal performance of your HSS Straight Strips. If you have any questions or need further assistance with the installation process, please don't hesitate to contact us. We are a leading supplier of HSS Straight Strips, Hot Rolled COIL, HSS FLAT, and HSS BAR, and we are committed to providing our customers with the highest quality products and services.
If you are interested in purchasing HSS Straight Strips or any of our other products, please contact us to discuss your specific requirements and to receive a quote. We look forward to working with you!
References
- Manufacturer's instructions for the HSS Straight Strips
- Industry standards and best practices for the installation of HSS Straight Strips
- Professional advice and guidance from experienced installers and technicians


